

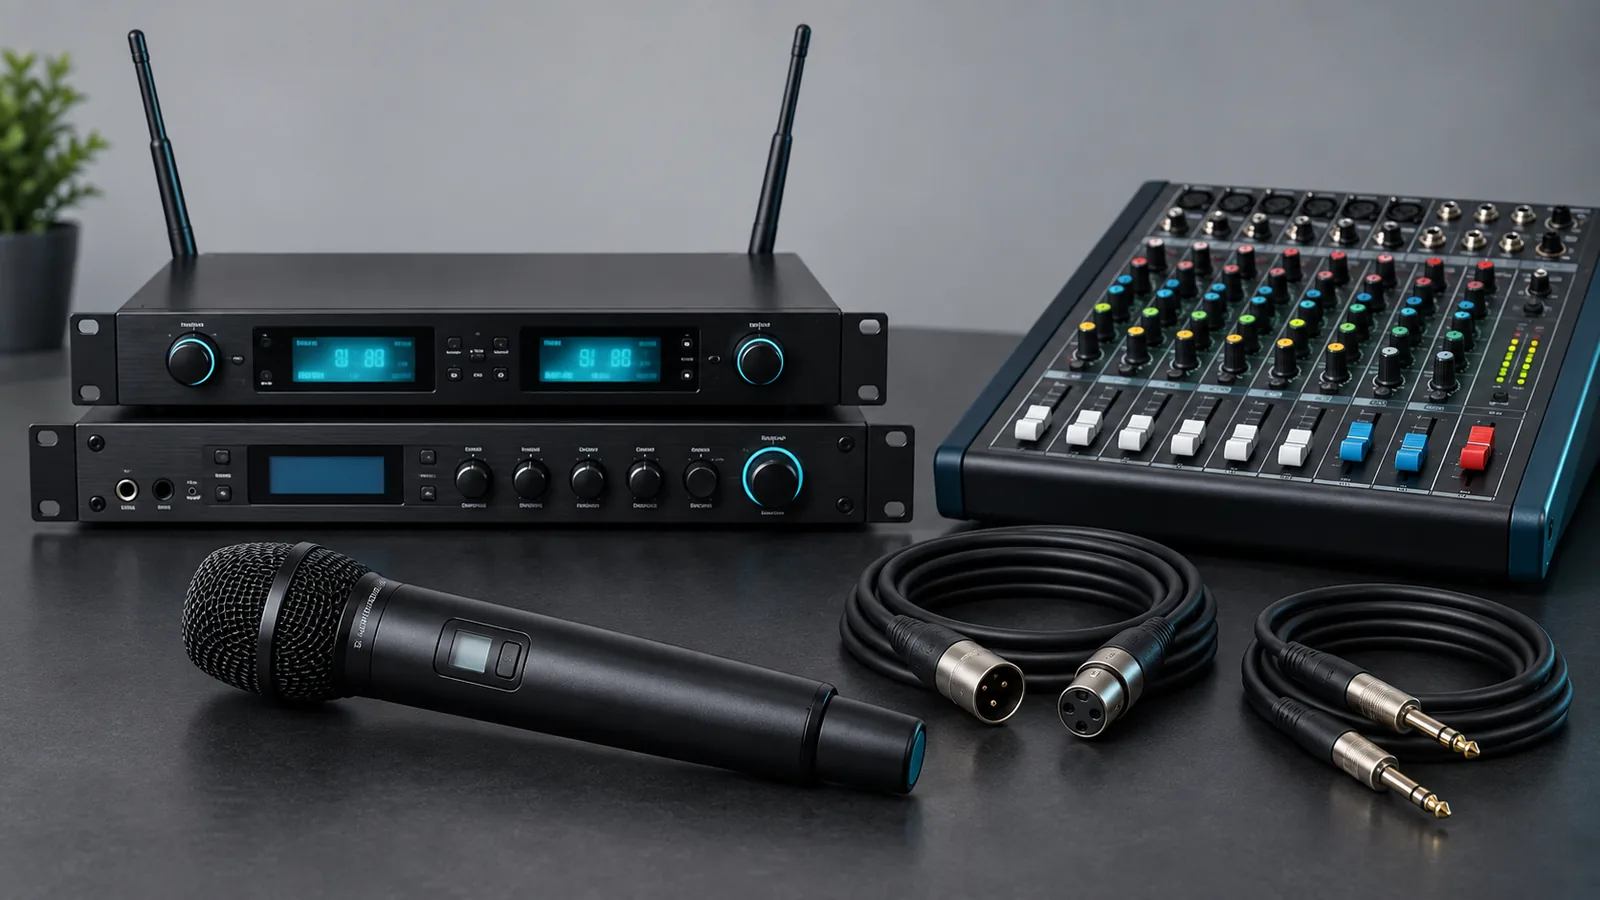
To connect a wireless microphone to a mixer, connect the receiver’s audio output to a compatible mixer input. If you use a vocal effects processor with a suitable microphone input, you can place it before the mixer: wireless microphone → receiver → effects processor → mixer → power amplifier → speakers. Match signal levels at each connection before raising the volume.
The demonstration below uses the second arrangement. It sends the processor’s left and right outputs into two mixer channels, then connects the mixer to a power amplifier. This guide explains that setup and the alternative AUX send/return method, so you can choose a route that suits your equipment.
Watch the connection demonstration
Watch: How to Connect a Wireless Microphone to a Mixer and Effects Processor | Step-by-Step Setup
The video shows the receiver-to-processor connection, the processor’s two outputs feeding the mixer, matching the two channel levels, and the mixer-to-amplifier connection. Use it to follow the signal direction; use your equipment manuals to confirm the correct input mode and cable wiring.
Choose the right signal path
“Effects processor” can mean a vocal processor with microphone inputs or an outboard unit designed for line-level signals. Their connections are not interchangeable.
| Your equipment and purpose | Suitable starting route |
|---|---|
| You only need to mix the microphone, or your mixer provides the effects you need | Receiver → compatible mixer input |
| You have a vocal processor with an input compatible with the receiver | Receiver → vocal processor → mixer; this is the video’s arrangement |
| You want several mixer channels to share reverb or delay | Receiver → mixer; mixer AUX/FX send → processor → mixer return |
In the video’s series connection, the processor passes the vocal onward to the mixer. Its output needs to contain the intended balance of direct voice and effects. In a parallel send/return connection, the mixer keeps the direct voice and blends in a separate effects return.
Check the inputs, outputs and cables first
Before connecting anything, turn the amplifier or powered speakers off and lower the mixer’s output controls. Identify these connections:
- The receiver’s individual or mixed audio output and its specified output level.
- The processor’s microphone or line input, and its left/right audio outputs.
- The mixer’s mic/line inputs, main outputs and, if needed, AUX/FX send and return.
- The amplifier’s line inputs, or the line inputs of powered speakers.
An XLR connector does not automatically mean microphone level. Some receiver outputs are switchable; others are fixed. A line-level output can overload a mic input, while a mic-level output may be too quiet for a line input. Confirm the levels in both manuals. Shure’s explanation of mic and line levels describes why matching plugs alone is insufficient.
For analog connections, use the cable wiring specified for the ports. A 6.35 mm TRS connector may carry balanced mono audio, stereo audio or an insert send/return, depending on the socket. Check its function before choosing a cable. Balanced connections are useful where both devices support them; changing the plug alone does not make an unbalanced output balanced.
The receiver and effects processor use their own power supplies. Do not turn on mixer phantom power to power them. Check the manuals before exposing their outputs to phantom power, especially when the mixer switches it on for several channels together.
Connect the system shown in the video
1. Connect the receiver to the vocal effects processor
The opening part of the video shows the receiver connected to the processor’s front microphone input.
Use this route only if that input accepts the receiver’s output level. If the receiver has a mic/line switch, select the setting required by the processor. If the processor only accepts mic level and the receiver supplies a fixed line-level signal, use an appropriate level-matching solution or a compatible line input instead.
Check whether you are using an individual microphone output or a combined output. A combined output puts the microphones on one downstream signal path; it does not preserve independent mixer control over each voice. This matters when one presenter needs different EQ or effects from another.
2. Connect the processor’s left and right outputs to the mixer
The video routes the processor’s two outputs to two mixer channels, using channels 1 and 2 as an example.
Choose mixer inputs that accept the processor’s output level. If these are line-level outputs, use line inputs or documented mic/line inputs with the correct mode or pad. The XLR inputs shown in the video should not be assumed suitable on every mixer.
For a stereo processor output feeding two mono channels:
- Route the left output to one channel and the right output to the other.
- Pan the left channel left and the right channel right.
- Begin with matching channel settings and keep the two faders together when changing the overall vocal level. Use stereo linking if available.
- Check both input meters and listen for the intended balance. Matching fader positions cannot compensate for different input gains or routing.
The video emphasizes keeping the two channel levels balanced. The panning and gain checks above complete that guidance for a stereo setup. If your processor is configured for dual mono or your PA operates in mono, follow its documented routing instead. Do not combine two outputs using a simple Y cable; use a proper mixer or the manufacturer’s specified mono-output arrangement.
3. Connect the mixer to the amplifier or powered speakers
The final part of the video shows two XLR cables running from the mixer to the power amplifier’s inputs. For a conventional stereo system, connect the mixer’s main left and right outputs to the corresponding amplifier inputs.
With powered speakers, connect compatible mixer outputs to the speakers’ line inputs; their amplifiers are built in. With passive speakers, an appropriate power amplifier is required. The amplifier-to-speaker connection is beyond what this video demonstrates and must follow the amplifier and speaker manuals.
Set levels and test the sound
Start with the processor’s effects reduced or bypassed in a mode that passes the direct voice. Keep unnecessary mixer effects off during the initial check.
- Confirm the wireless link. Power the receiver and transmitter, check pairing, battery status and mute settings, then speak into the microphone.
- Check the first audio stage. If the system offers transmitter sensitivity or input metering, verify that strong speech does not overload it.
- Check the processor. Adjust its input and output controls within the manufacturer’s recommended range. A downstream fader cannot remove distortion already created here.
- Check the mixer. Use PFL/solo and meters where available. Set input gain for clear speech with room for louder peaks; avoid clip indications.
- Bring up the PA gradually. Power the amplifier or powered speakers last. Raise the listening level carefully, then add the desired effect amount. At shutdown, turn the amplifier or powered speakers off first.
Test with normal speaking or singing distance and the loudest expected voice. There is no universal “12 o’clock” setting that works for every receiver, processor and mixer.
Alternative: connect an effects processor through AUX send and return
For shared reverb or delay, another route is:
Receiver → mixer input
Mixer AUX/FX send → processor input → processor output(s) → mixer return or spare line input(s)
Use a post-fader send when you want the amount sent to the effect to follow the channel fader. Yamaha explains this behavior in its signal-routing guide.
For a conventional parallel reverb/delay loop, use the processor’s wet-only output or mix setting so that the mixer supplies the direct voice. Adjust the return level to blend the effect. In the video’s series route, the processor normally needs to retain the direct voice as well.
If you return the effect through spare mixer channels, keep those channels’ send to the same effects bus off. Sending the return back into itself can create an electronic feedback loop. QSC’s outboard effects setup guide covers this routing precaution.
An insert is another, separate connection method. It places processing in a channel’s signal path and is often used for compression or gating. Do not treat an insert socket as an ordinary balanced line input; see Yamaha’s insert guide.
Troubleshoot common connection problems
| Symptom | What to check first |
|---|---|
| No sound | Trace the chain one stage at a time: receiver audio activity, processor input/output, mixer meter, main output and amplifier. Check mute, cable direction and channel assignment. |
| Very low volume | Check receiver output mode and the destination’s input sensitivity before adding more gain. |
| Distortion even at low speaker volume | Look for overload at the transmitter, processor or mixer input. Reduce the level at the stage causing the clipping. |
| Sound from only one side | Check both processor outputs, cables, channel assignments and pan settings. |
| Too much echo or a washed-out voice | Check whether both the processor and mixer effects are active. Review the dry/wet setting for the chosen route. |
| A rising howl when effects are added | Check the effects return is not sent back to its own send bus. Also check microphone and speaker placement. |
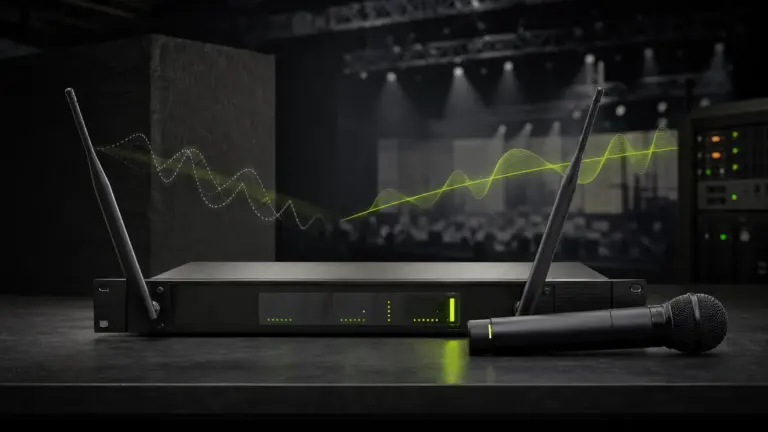
| Wireless dropouts while the wired path works | Check batteries, RF conditions and antenna placement separately from audio cabling. |
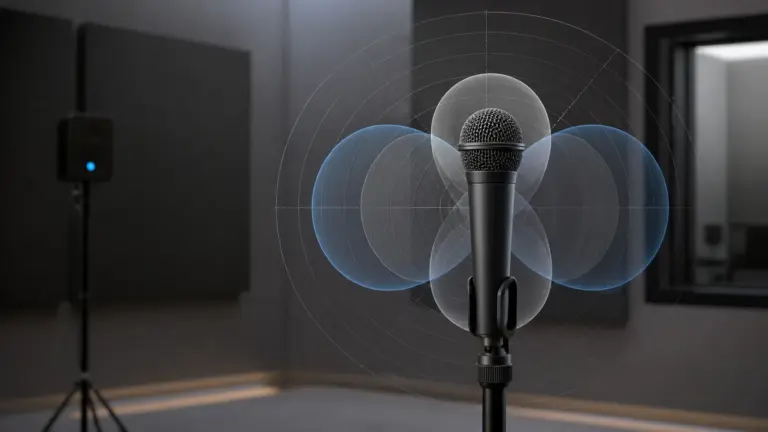
For acoustic feedback, review the microphone’s pickup pattern and the position of nearby loudspeakers. For RF-related interruptions, our guide to true diversity wireless receivers explains a different part of system reliability.
What B2B buyers should confirm before ordering
When comparing wireless microphone systems, ask for the receiver’s rear-panel photo and output specifications alongside the microphone specifications.
For a useful compatibility review, provide the supplier with:
- Receiver, processor and mixer model numbers, plus clear input/output photos.
- Required individual microphone outputs versus a combined mix output.
- Input/output levels, balanced or unbalanced wiring, and planned cable lengths.
- The intended series or AUX route and whether stereo output is required.
- The number of microphones used simultaneously and the application.
- Destination country, expected quantity, OEM needs and sample requirements.
For sample acceptance, test each microphone separately and together, check both output channels, record the working gain settings, and listen with effects bypassed and enabled. Agree on application-specific acceptance criteria before ordering a larger batch; this checklist is a proposed test process, not a report of completed testing.
EP AudioSource is an independently operated B2B sourcing and manufacturer-coordination service based in Enping, China. We can help clarify requirements and coordinate specification questions, quotations and samples with suitable manufacturers. Product compatibility and commercial terms must be confirmed for the selected equipment and supplier.
Discuss your system requirements with EP AudioSource or send a sample request.
Frequently asked questions
Can I connect a wireless microphone directly to a mixer?
Yes—connect the wireless receiver’s audio output to a compatible mixer input. The handheld microphone sends its signal wirelessly to the receiver. An external effects processor is optional.
Should the effects processor go before or after the mixer?
A compatible vocal processor can sit before the mixer, as shown in the video. A line-level reverb or delay processor can instead connect through a mixer’s AUX send and return. Decide from the processor’s input requirements and the processing you need.
Do I need two mixer channels for the processor?
Use a suitable stereo input or two mono inputs to retain a stereo output. A mono setup may use a documented mono output or proper summing arrangement. Follow the processor manual rather than assuming either left or right contains the complete mix.